
 diglloydTools™


$220 SAVE $130 = 37.0% Western Digital 16.0TB Western Digital Ultrastar DC HC550 3.5-in… in Storage: Hard Drives
|

|

|

|

|

|

|

|

|

|
How to Initialize or Erase a New or Existing Drive
When a new drive is attached or installed, OS X will prompt you to do something about it for each such uninitialized drive, as shown below.
Clicking brings up Apple Disk Utility. It won’t do anything harmful on its own; it launches Apple DiskUtility where the choices are open.

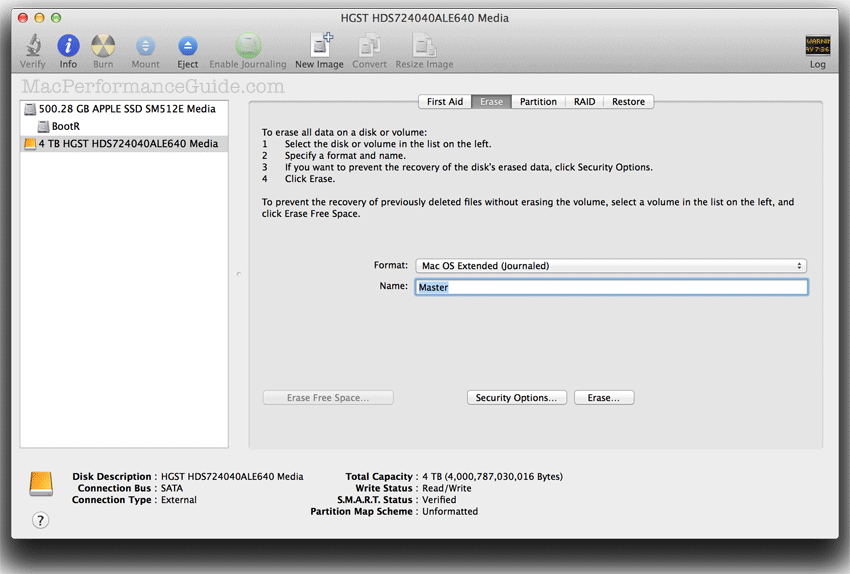
Erasing
Select the new drive at left, in this case , then click on the tab (between and ).
Choose a name (Master as shown here), then click the button. This creates a single volume; for more than one volume, the drive should be partitioned.
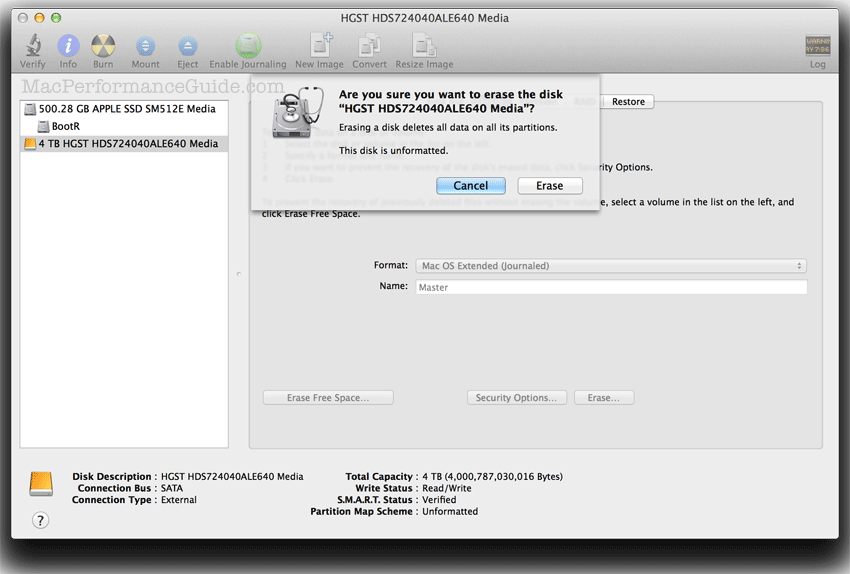
Confirming
After clicking the button, a confirmation dialog is presented. To proceed, click . When done, the volume will appear on the Desktop with the chosen name (assuming the Show these items preference is selected in the Finder).
If this is a backup drive, it is generally a good idea to exclude it from Spotlight search.
Seagate 22TB IronWolf Pro 7200 rpm SATA III 3.5" Internal NAS HDD (CMR)
SAVE $100
