 diglloydTools™


|

|

|

$610 SAVE $110 = 15.0% ZEISS 32mm f/1.8 Touit Lens for FUJIFILM X OUT OF STOCK in Lenses: Mirrorless
|

|
diglloyd Benchmarks for Photoshop CC
Related: How-To, memory, optimization, Photoshop, software
Applicable to Photoshop 6 or later (CC and CC 2020, etc).
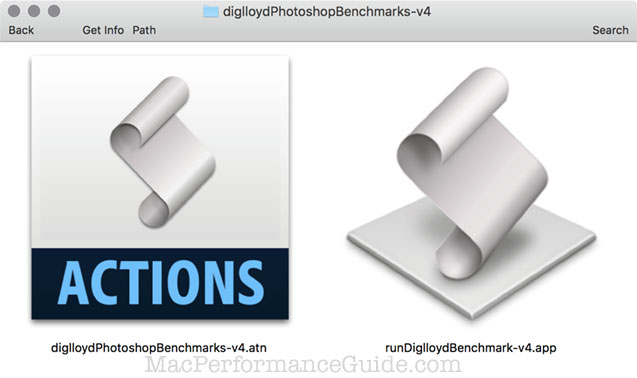
- Download the diglloyd Photoshop benchmarks v4.2.3 and unzip the zip file.
- Install the Photoshop actions by double-clicking the .atn file.
- Run the app
The benchmarks consist of a Photoshop actions file and a Applescript-based application. The Photoshop actions are driven and timed by the supplied app.
The small/medium/huge tests will run at full speed if and only if there is enough memory available to keep everything in memory. As such, they can help measure the following:
- Whether the amount of installed memory is adequate.
- The effect of one scratch drive versus another (when memory is low or maxed-out).
- Maximum possible performance (assuming ample memory and fastest scratch drive).
The benchmarks
diglloydSpeed1: a CPU-constrained test, but generally needs 8GB of memory to be so. It runs a mix of operations including Unsharp Mask, image resizing, image rotation, invert, Levels, Curves, Gaussian Blur, Shadow Highlight. This mix is generally not highly scalable.
diglloydSmall: generates an 8.4GB scratch file using a 14,000-pixel-wide image. Not used for testing in this article, but is appropriate for testing smaller workloads.
diglloydMedium: generates a 15.7GB scratch file using a 20,000-pixel-wide image. This is about as large a challenge as is suitable for a MacBook Pro (unless you have plenty of patience).
diglloydHuge: generates a 56GB scratch file using a 40,000-pixel-wide image. Suitable for testing extreme cases with the Mac Pro, most dependent on scratch drive performance.
batch: a variety of Photoshop filters including Sharpen, Blur, Noise, Distort, Liquify, Pixellate, LensCorrections. [Note that at some points in time, some of these tests would crash Photoshop due to OSX GPU drive bugs and/or Photoshop bugs. But Photoshop CC 2015.5 is stable].
Running a test
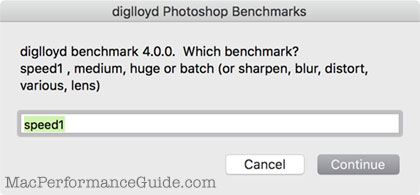
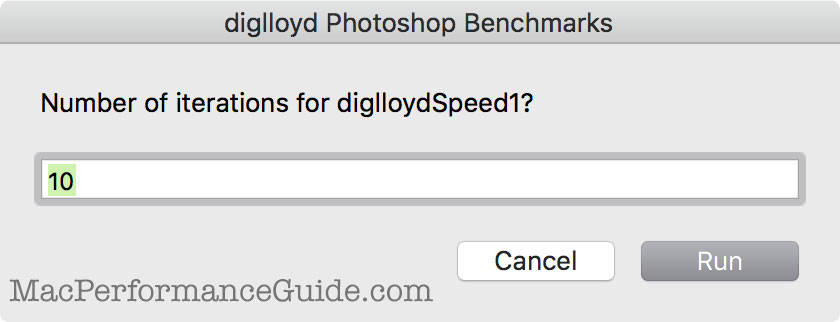
Run any of the diglloyd benchmarks using runDiglloydBenchmark.app. Enter the desired test name in the box, then click .
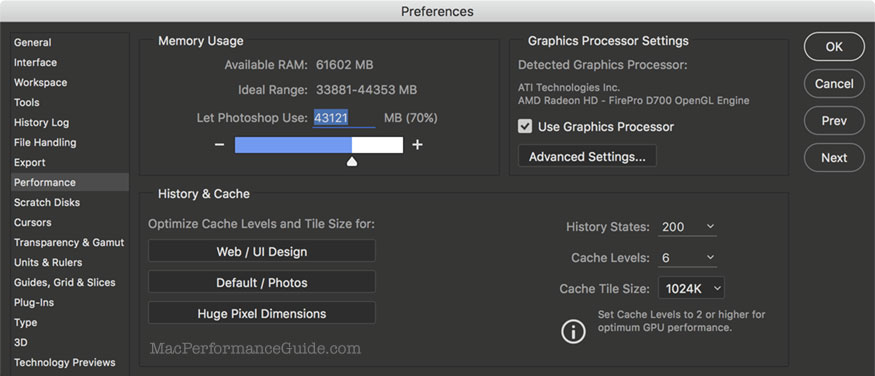
As shown below, configure Photoshop to your desired settings. Quit and relaunch Photoshop if any changes are made, because performance settings take effect only upon restarting Photoshop.
Shown below are typical test settings used for the results published on this site.
Choose settings that reflect typical workflow setup, since this is most relevant. Varying these settings may lead to insights into better choices for your own workflow, but that kind of configuration decision should be confirmed with the actual workflow.
To obtain consistent and repeatable results, the Mac should be in a reproducible state before running the tests:
- Reboot, then allow the system to stabilize for 30 seconds or so (a variety of programs are active for at least a short while after the system starts up). If reboot is not desirable, at least quit all other apps.
- Make sure that Time Machine doesn’t start backing up in the middle of a test.The best way to do this is to choose “Backup Now” so that it won’t run for another hour.
- Quit any applications you have running (Mail, Safari, etc). These consume resources that can alter the test results.
- Run sudo purge before each test.
- Verify that Photoshop itself is idle by opening Activity Monitor (0% or 1% CPU usage by Photoshop).
To a certain extent, specifying more iterations minimizes any variability; if a longer running test is acceptable, use 20 or 30 iterations and any “blips” will average out to little meaningful difference.
Running is automated
See the screen shots at right for the dialogs that appear.
The test is automated, but does need to create and save a test file; save this anywhere you like.
It ’s a good idea to keep open, and watch for any other background programs that might start running while the test is in progress. Results are invalid if other programs are vying for memory and disk access.
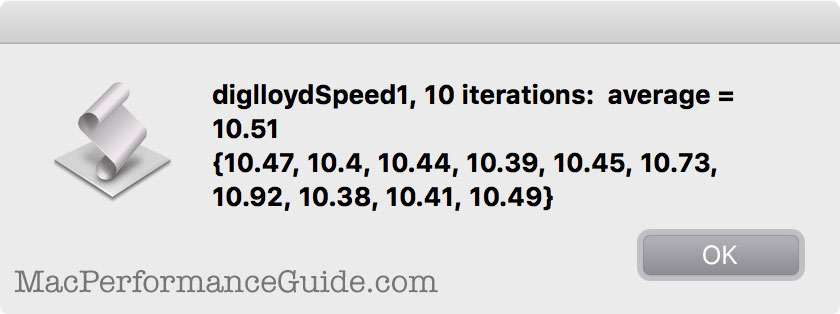
When complete, the average time and the individual times are displayed. With relatively short-running tests, use a larger number of iterations, like 10 or 20. With long-running tests like diglloydHuge, 3 to 5 iterations is appropriate.
NOTE: the text in the results dialog can be selected and copied as text.